


Oral hygiene refers to habits we complete each day to keep our mouths clean. Natural bacteria in our mouths will create a film called plaque. It can erode the dental structure if it remains on our smiles. So we brush our teeth and floss to get rid of plaque and other harmful residues before they hurt our oral health.
Traditional flossing using waxed string is an effective method of scrubbing away build-up between the teeth where a toothbrush cannot reach properly. But dentists also recommend water flossers as a new and enhanced way of cleaning this part of your smile.
This tool will work best when you employ it with purpose and proper technique. Read on to find guidelines for how to use your water flosser to maximize oral hygiene capabilities.
Water Flosser Best Practices for a Sparkling Smile
Choose the Right Settings on Your Flosser
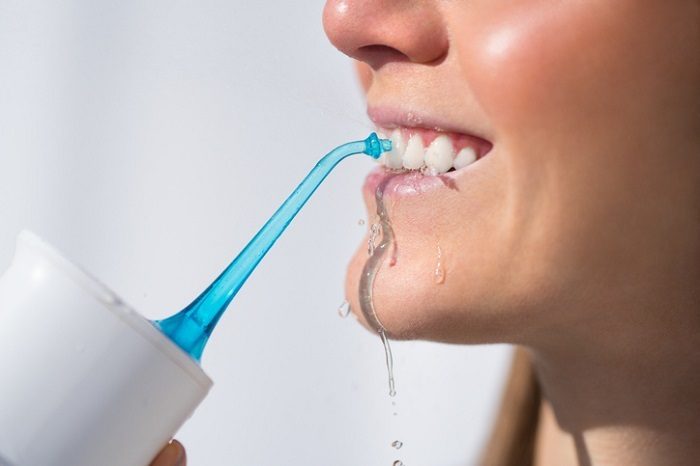
The water flosser is an oral hygiene tool that you fill with water and the device generates a stream from the tip that you aim between your teeth to clean them. This device features many settings that you can adjust to your specific preferences.
For instance, you can swap out the tip of the flosser according to your oral health needs. You may choose the standard tip, one designed to maneuver around braces and oral appliances, or a tip that can target deep in the gum pockets.
A water flosser also allows you to change the speed and pressure of the stream of water. Begin with the lowest setting so that you get used to the feeling. Then you can alter the pressure as needed to achieve the cleanness you need while remaining comfortable.
Navigate the Water Flosser with Purpose
As with traditional floss, you need to complete the oral cleaning process with purpose in order to properly clean your smile with a water flosser. When flossing with string, you target the space between each tooth, and the water flosser is no different. In fact, this tool allows you to clean these areas as well as the tricky spots near the gumline.
To ensure you aim your water flosser accurately, you may want to perform this task in front of a mirror. This way, you can see where to position the flosser. Lean over a sink when flossing this way so that you do not splash water everywhere.
To avoid making a mess, keep the tip of the flosser under the lips. Then allow water to flow out of your mouth into the sink as you floss. You might want to consider trying a cordless water flosser which you can use in the shower to further reduce potential mess.
Ideally, you should start at the back of the mouth with the flosser and make your way forward. Make sure to clean between each of the teeth and navigate around the gumline along both edges of your smile and for both arches of teeth. Learn more about water flossers, oral hygiene, and preventative dental care by calling your dentist.
How Water Flossers Work
Water flossers use a steady stream of water to clean places regular floss can’t reach. The water pulses gently to remove plaque and food particles up to 6mm under your gums. This back-and-forth water flow also massages your gums and helps wash away bacteria.
Research shows water flossers can be 50% better at reducing gum inflammation and 29% more effective at removing plaque than string floss. The water stream boosts blood flow to your gums, which helps them heal. This makes water flossers especially helpful for people with braces, dental implants, or early gum disease.
Getting the Most from Your Water Flosser
For better cleaning, angle the tip slightly upward for top teeth and downward for bottom teeth to focus on the gumline. Hold briefly between teeth to let the water do its job. Try stopping on each tooth for 2-3 seconds while turning the pressure up slightly for a deeper cleaning.
If your gums are sensitive, use warm water instead of cold. Some models let you mix in a little mouthwash with the water for extra germ-fighting power.
Keeping Your Water Flosser in Good Shape
To make your flosser last longer, empty the water tank after each use to stop bacteria from growing. Once a week, run a mix of water and vinegar through it to clean out mineral buildup. Change the tip every 3-6 months because the small openings can get worn out and work less effectively.
Store it standing up with the tip off so it can dry completely. Check the hose and power cord now and then for leaks or damage. Most brands suggest getting a new flosser every 3-5 years to keep the water pressure strong.
Start Your Healthier Smile Today
Want to learn how water flossing can help your teeth and gums? Our dental team can show you the best way to use one and help pick the right model for you. Call Dr. Drew Shulman at (215) 372-1142 to learn more about better ways to care for your smile at home. Your gums will feel the difference!